|
To me, tessalation is when someone would take a normal photo and take a small portion of it and use multiple copies of that smaller photo to have a kaleidoscope effect. To create a tessellation I first started a new file in photoshop, then I create a guide layout from the view section. After that I took the photo I wanted to use and cropped out everything except a small portion that would be good for the tessellation. I then resized the photo to fit the squares and moved the photo over to my other file that will be worked on. You would then duplicate enough layers to fill in all the boxes and then distribute them so that there is one layer in each square. Then you rotate all of the layers individual until you are happy with what it turned out to be. then merge your layers and save it.
0 Comments
By going making this trip to the duck pond I learned about the effectiveness of using a reflector while taking photographs. What made helped me determine what photos I chose was just purely on the lighting and lack of shadows in the base photos so that enhancing the photos in photoshop would be all the easier. When using the reflector I always had it shining light on the side of the face that was covered in shadows so that I could highlight his skin tone more.
 How does one reach true academic success? Is it from diligent work? Networking with those around you? Setting a career path and working to achieve it? Or it is a combination of the three? What matters is that all these ideas revolve around education and all the wonders that it brings. Education is a person’s greatest tool but can also be their greatest weakness. Education can be the tipping point to launch a career or create a break through in the field. But, education can only help an individual as much as they are willing to help themselves. If someone is not willing to put in the work to succeed, they will receive nothing in return. Education is a vast world of knowledge that may appear overwhelming and difficult to find a start to. But like a stack of dominoes, all it takes is one little push to set off a world of reactions. What happens next is left all up to the individual.
 To create this image was quite a simple task. First, take photos that show the letters of your name and put them on iPhoto. Next, turn the photos black and white as well as cropping them as much as possible so that they fit. Then, use a template for photoshop and move all the photos into their own tabs in photoshop. Move the pictures off of the tab bar so that they appear as small images and use the move tool to drag them onto the template. Use the transform tool in the edit tab to scale the images down and proceed to move all of the images side by side to form your name. Once you have all the photos in a satisfying order then save the file as a jpeg and you are done. I wasn't really that unclear about anything, everything was pretty simple. I was most proud about finding the letters outside in fancy ways. What I like best about my artwork is the varied ways that the letters were in, all of them are in a different and varied location. I definitely could have tried harder to find a capital R since it is the first letter in my name.
 This picture of me is a representation of where I plan on ending up after ten years. I'm fresh out of med school and have finally landed a job as a pediatrician. I'm still in Vista working at the children's med center right next to Tri City Hospital. And by the look on my face I am truly happy and excited to be working in a profession that I wanted to for for so long. 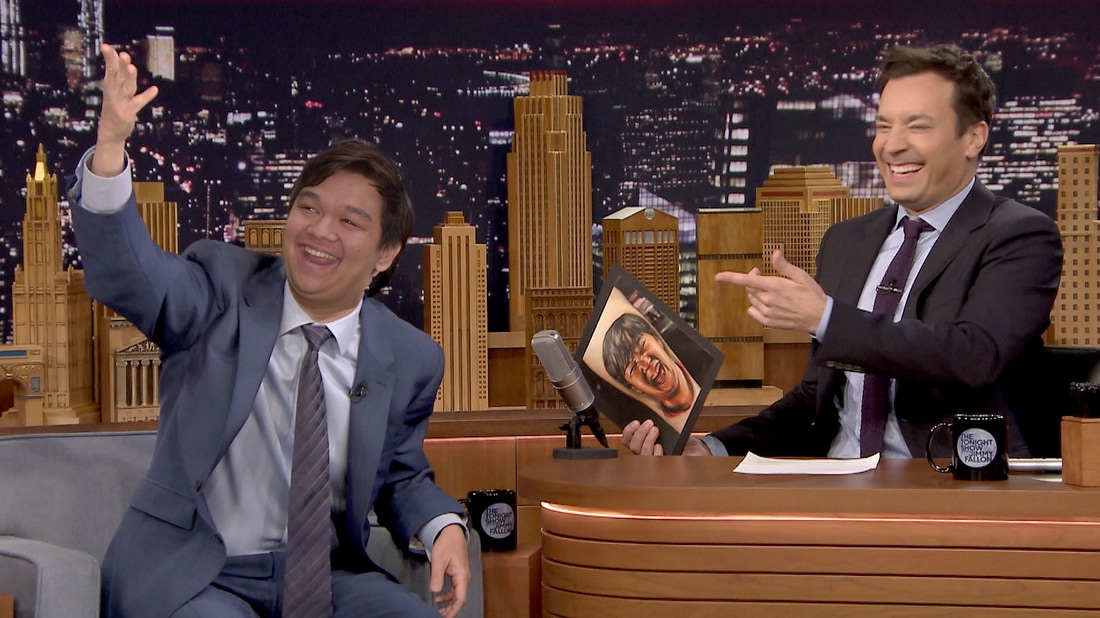 This image shows me on the Tonight Show with Jimmy Fallon. I had photoshopped my face onto Ken Jeong as his looks were similar to mine. I don't really know what I would be doing on The Tonight Show as I don't see myself as being in the spotlight as a celebrity figure. However if I was on the show then I would most likely be there for a book that I wrote, probably a comedy or something about the lies of life and what we are forced to believe in. If I was on a show like that then I would definitely be living the dream life and would cherish that life. Steps to create a photoshopped image as seen above
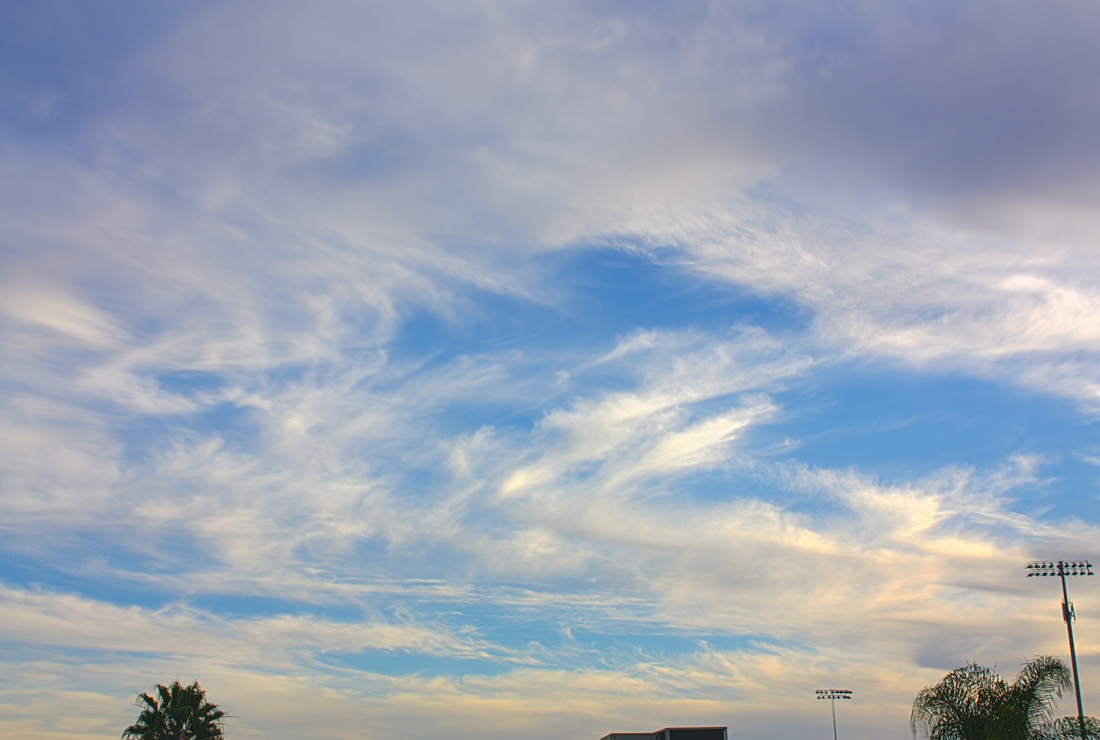
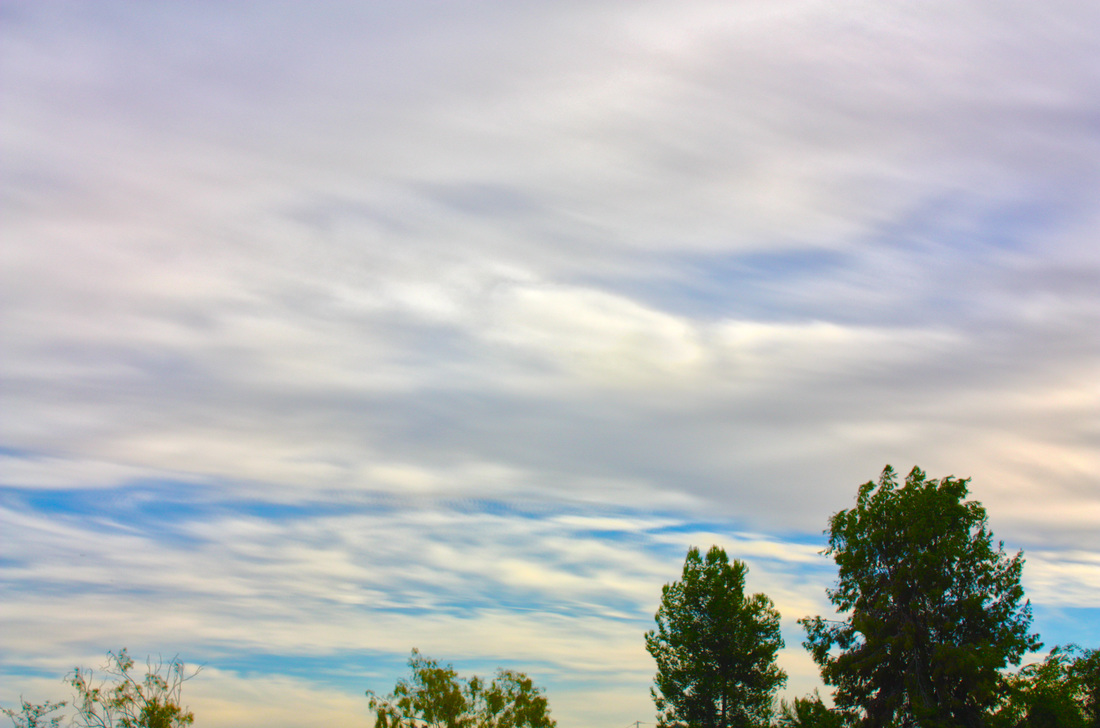
HDR is short for High Dynamic Range. HDR photos is essentially blending five photos together to create one beautiful photo that pops up. To take HDR photos like the ones I took, first you must take five shots of one photo. These five photos will all be at a different exposures (-1.0 EV, -0.5 EV, 0.0 EV, 0.5 EV, 1.0 EV). These photos must be taken on a tripod to help prevent the shots from being too different from one another. Now that the five photos have been taken, go into photoshop and click on Automate, then click Convert to HDR Pro. This will then bring up a new menu where you can place the five photos that you took into the section. Once you click okay the computer will then convert the photo to HDR. Now you have free reign to adjust the photo to your hearts content. After you have a photo you are satisfied with then you just save the photo as a JPEG and now you have your own HDR photograph.
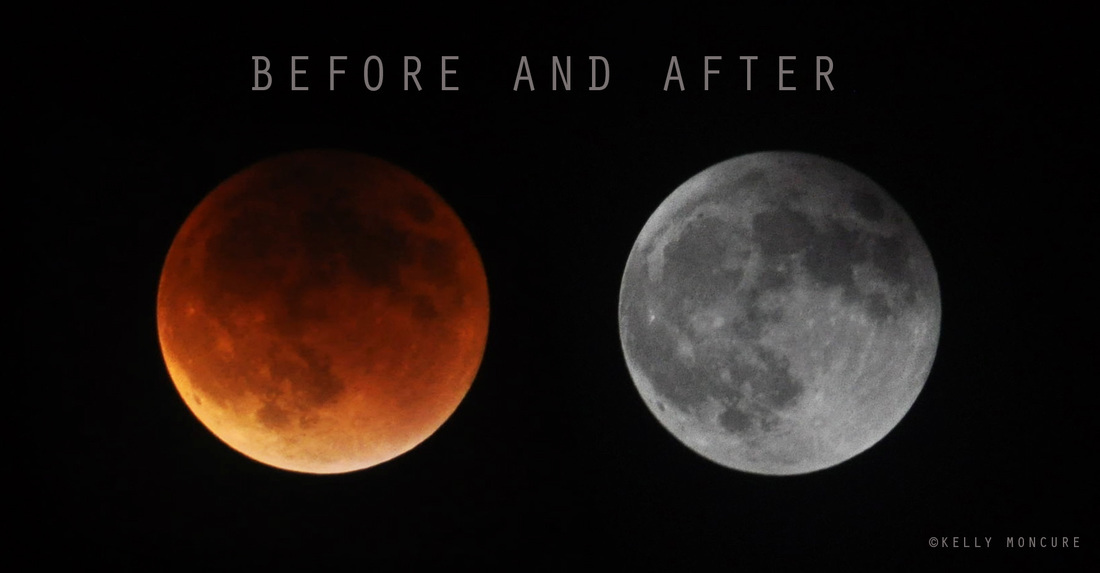 To photograph the moon:
1. Use a tripod! A flat surface will only allow you to shoot straight, and shooting the moon means that you'll be shooting up and constantly re-adjusting the tripod as the moon moves throughout the night. 2. Use a shutter release cord, remote or the camera's self timer if you don't have one, so that you don't move the camera when pressing the shutter release during a long exposure. 3. Use a zoom lens and zoom in as much as you can to the moon. It's okay if it's not a super fancy lens, this was shot using a 15 year old $100 lens. Focus in on the craters and details on the moon. 4. ISO 1250- 1600, so that you can use as fast a shutter speed as you can without losing detail-the longer the shutter speed, the more chances you have the camera will shake even slightly in the wind, resulting in an out of focus photograph. 5. Aperture priority of f/5.6 since you are not worried about capturing any details other then the moon. 6. Bracket your exposure, meaning over expose and underexpose the photograph from what the camera is telling you. Generally the camera will overexpose the moon, so you'll get nothing but a white blob in the sky. Use the exposure compensation button (the +/- button below the shutter release) and change the exposure to -0.5, then -1.0, then -1.5 and so on, until you start seeing detail in the moon. You may go as far as -5.0 exposure compensation to get what you need. 7. Take a fair amount of photos and keep refocusing as the night progresses. The photographs may look focused on the camera's display, but you won't really see if they're completely in focus until you upload them onto your computer screen. |
AuthorRyan Baldoni: The Asian with the most persuasion. Archives
May 2017
Categories |
 RSS Feed
