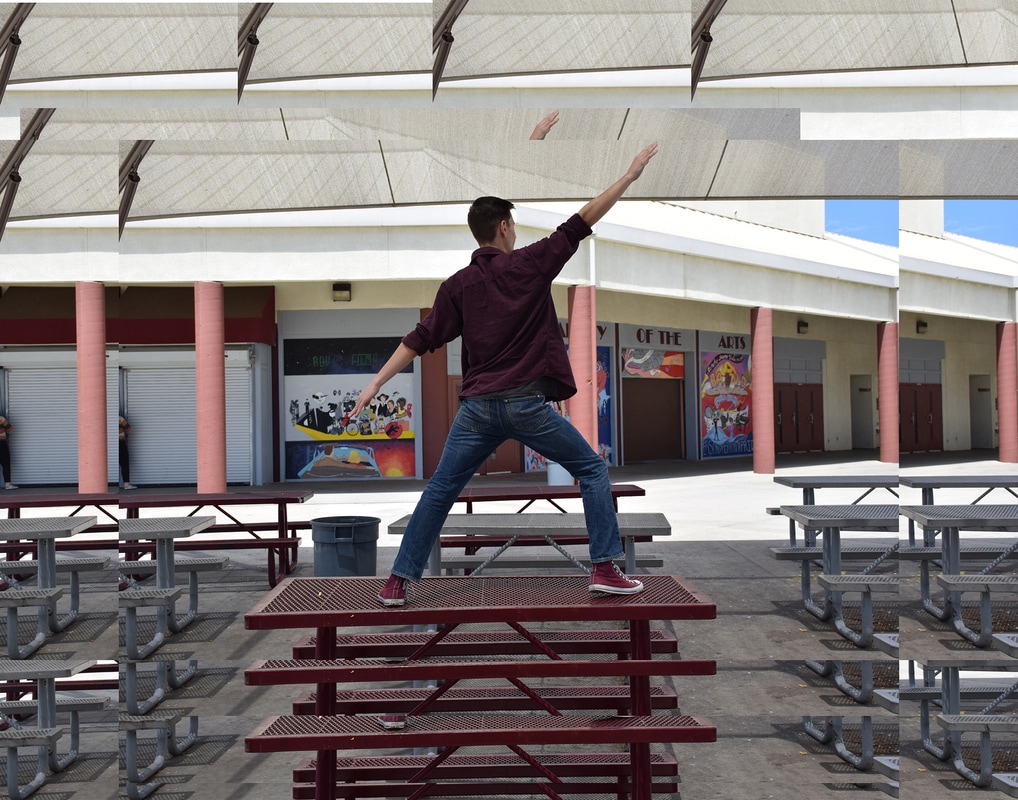
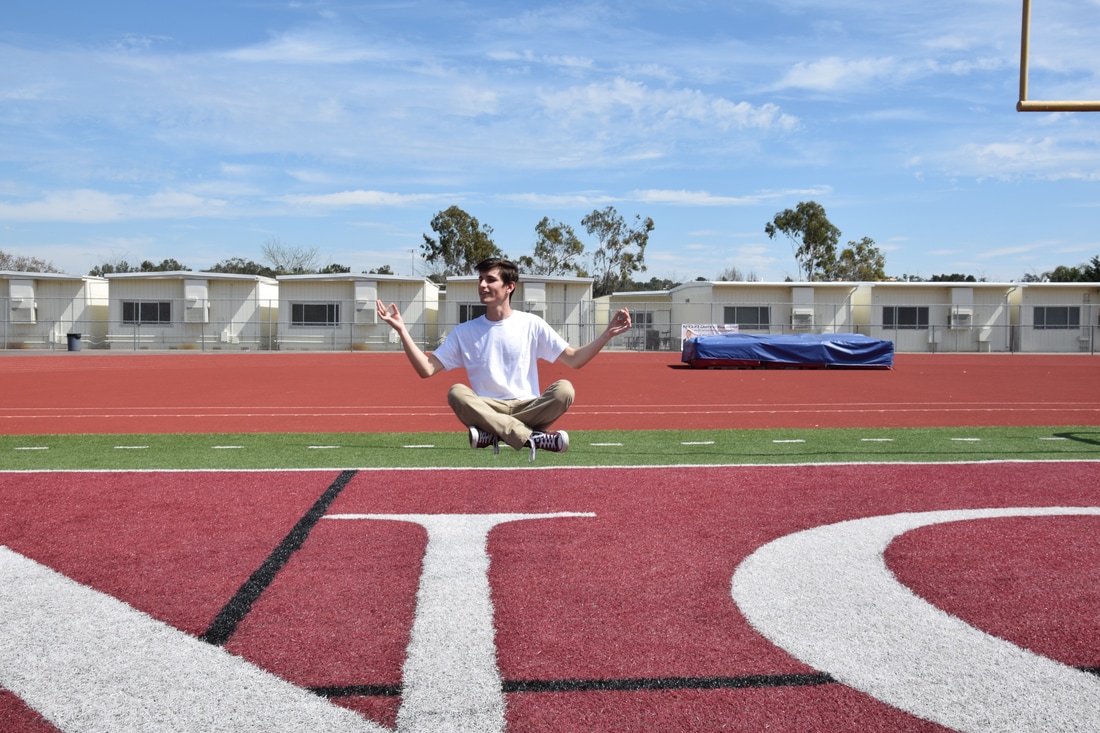
  David Hockney is best known for his work as both a painter and a photographer. He is also recognized as one of the most influential British artists of the 20th century. David Hockney was born in Bradford, England on July 9th, 1937 and was the fourth out of five children. Hockney has a home and studio in Kensington, London and two residences in California. He travels in between these locations for work. David Hockney first started out with portrait photography and then branched himself off to photo collages which he dubbed "Joiners". How my artwork emulates his style is with the idea of joining multiple photos together to help create one joined image.
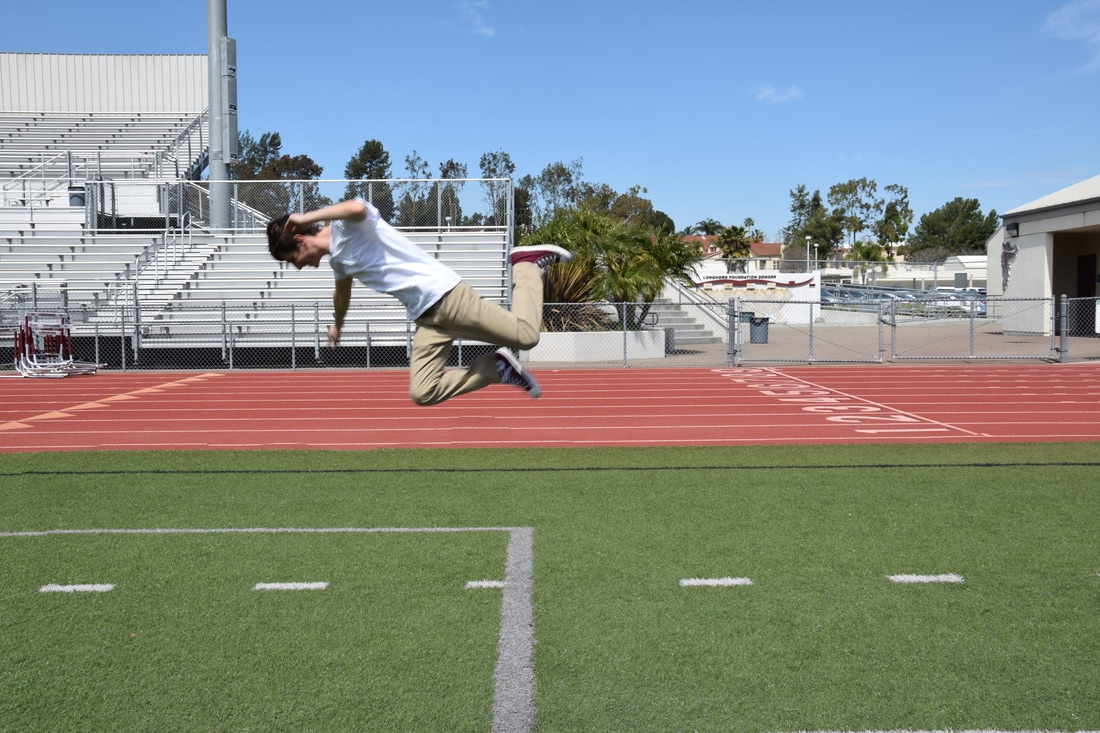
Creating this photo was both simple but difficult. I had to take 12 shots of one scene that I wanted to create. I then had to put at least 8 shots together with a bas shot that i wanted everything to revolve around, I adjusted and scaled the different layers so that they all fit together. Finally I just merged all of the layers and called it a day.
0 Comments
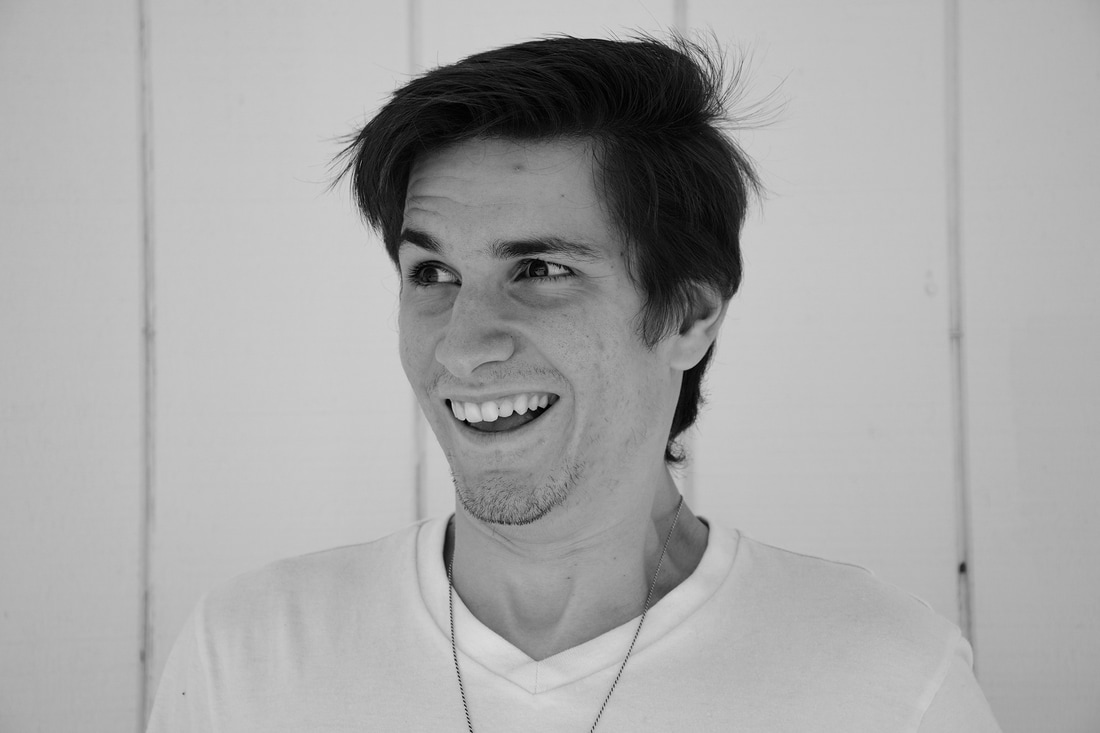
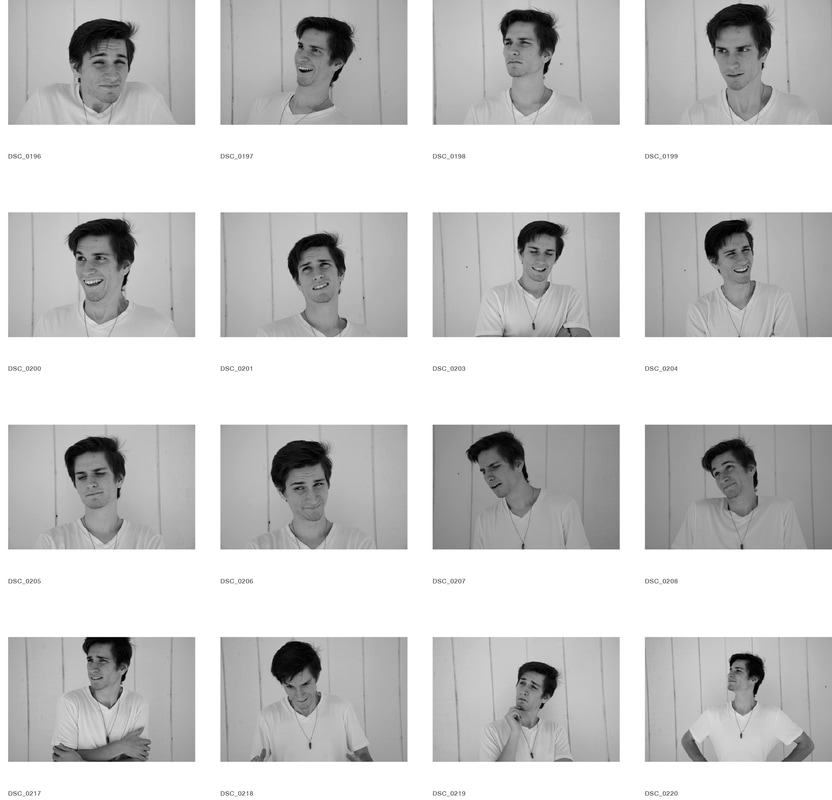
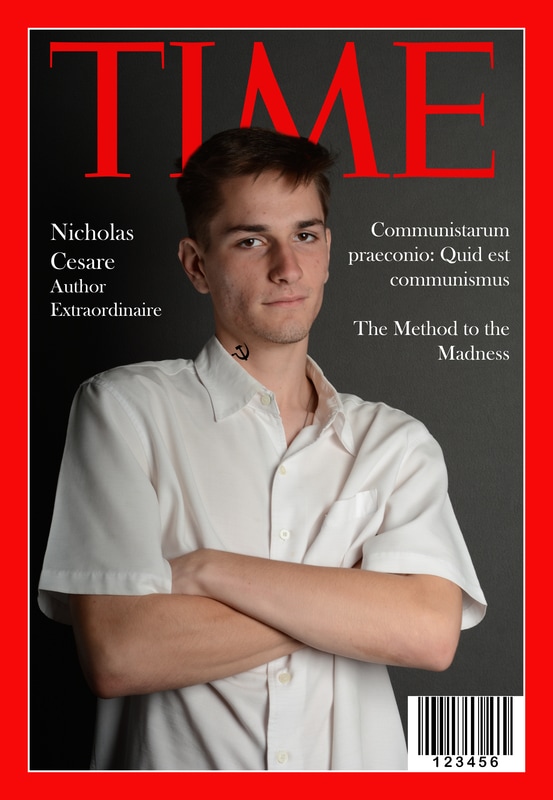 I chose Time magazine because the style they do for their covers is very similar to the shots I took of Nick, I just really like the simplicity. How I emulated their style was to just have a very simple portrait shot of Nick with nothing in the background. The typeface that I used was Baskerville Old Face Regular with a white coloring because in their magazine they have very simple descriptions that focus more on the content than the visuals.
The set up for the shot was to use a grey background and a strobe light to have a photo that had plenty of shadow and light to give a powerful and ominous feeling for the person. A strobe light is a giant light that flashes a bright light when a photo is taken so that the photo has enough lighting, strobe lights are best used indoors in a room that doesn't have enough lighting. A modeling light remains on while the flash is turn on and exposes the photo to a higher exposure of light, you would use a modeling light to focus more attention of the photo on the light areas as well as add highlights to the photo. A soft box is a lighting device that is used to diffuse and create even light by directing light through some diffusing material. A reflector reflects light to redirect light, these are generally used to add more light to a darker area in a photograph. A gray card is a middle gray reference that is typically used to find a consistent exposure. A radio trigger system sends the photos that are taken to your computer instantly so you can see them over there which is helpful for when you need to see your photos on the computer quickly. My photo 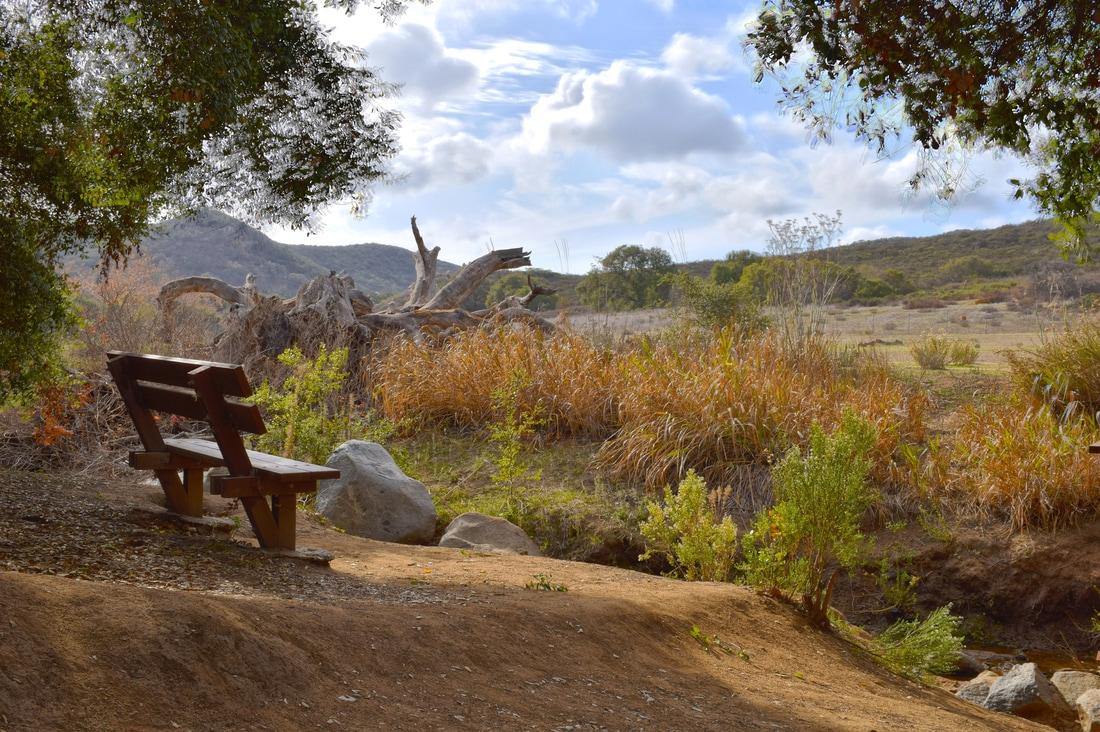 Ryan Richieri
Photography Mrs. Moncure May 3rd, 2017 The title of this piece is “Down by the Little Old Creek”. This photo was taken at a location nicknamed the duck pond. The compositional rule that I used was rule of thirds. The camera and lens used for this photo was the Nikon D5300 with a 18- 140mm lens. The process to create this photo was rather simple. I first took the same shot at five different exposures, then I put all of the photos into photoshop and using the HDR option I merged all five photos. How this photo falls into the category of San Diego County lifestyle is with how it demonstrates the average every surrounding of someone who may or may not even realize the beauty that lies so close to them. 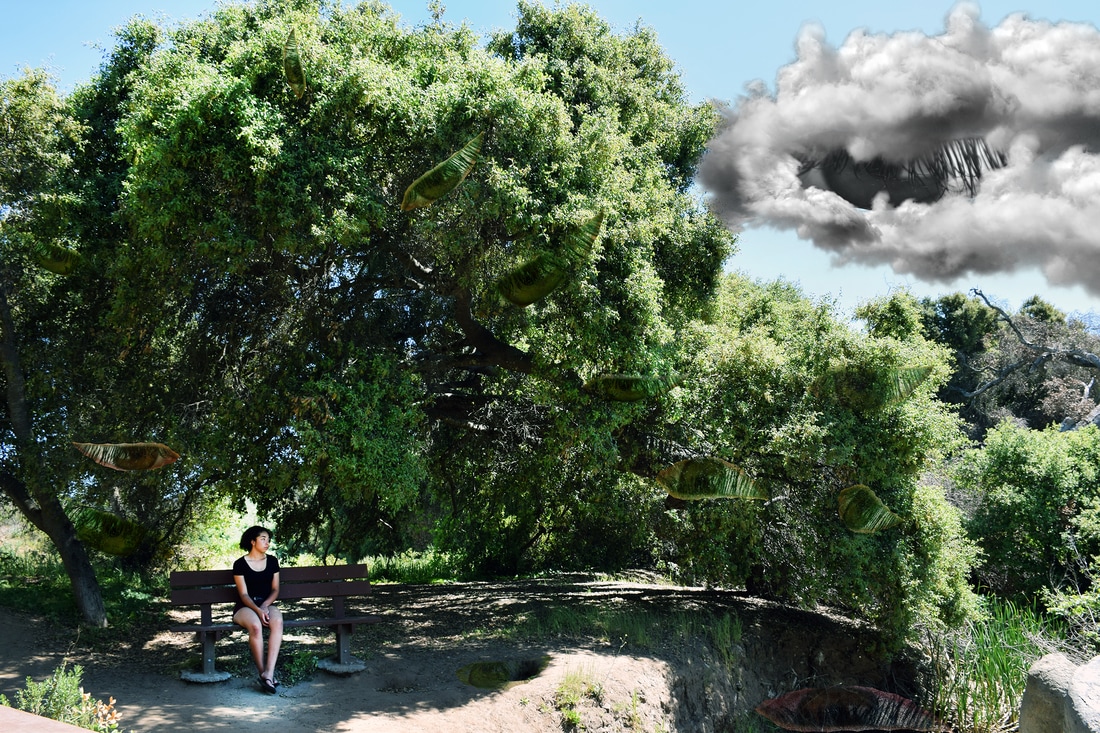 The song is Private Eyes by Daryl Hall & John Oates.
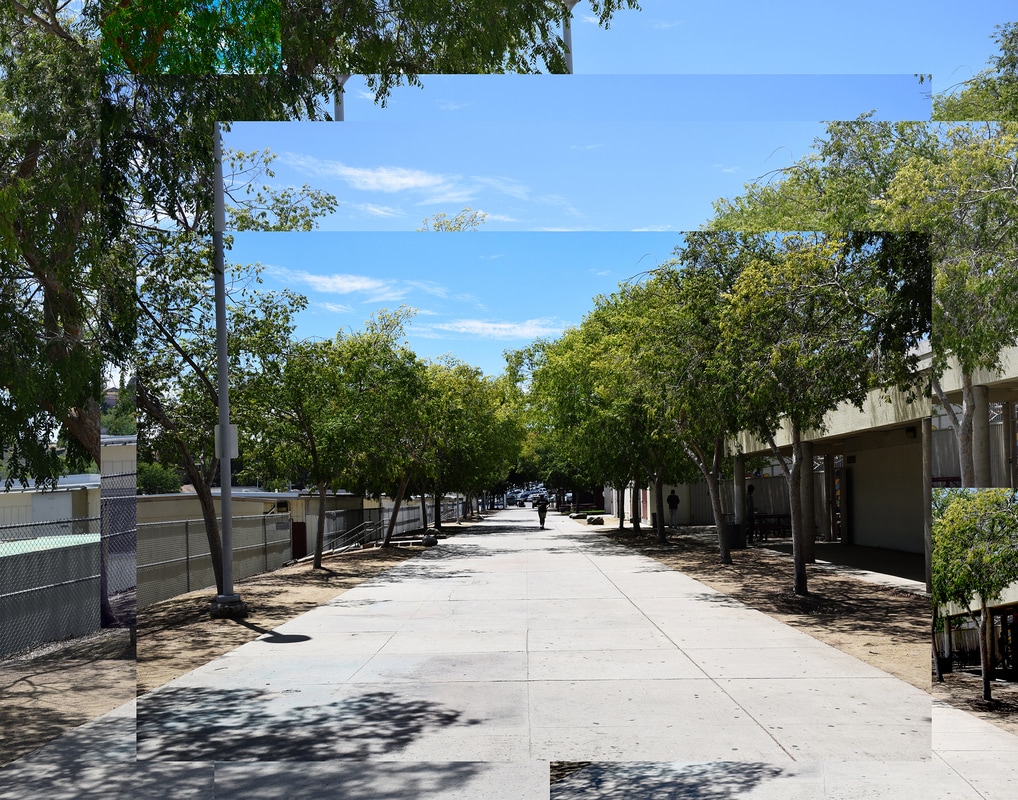
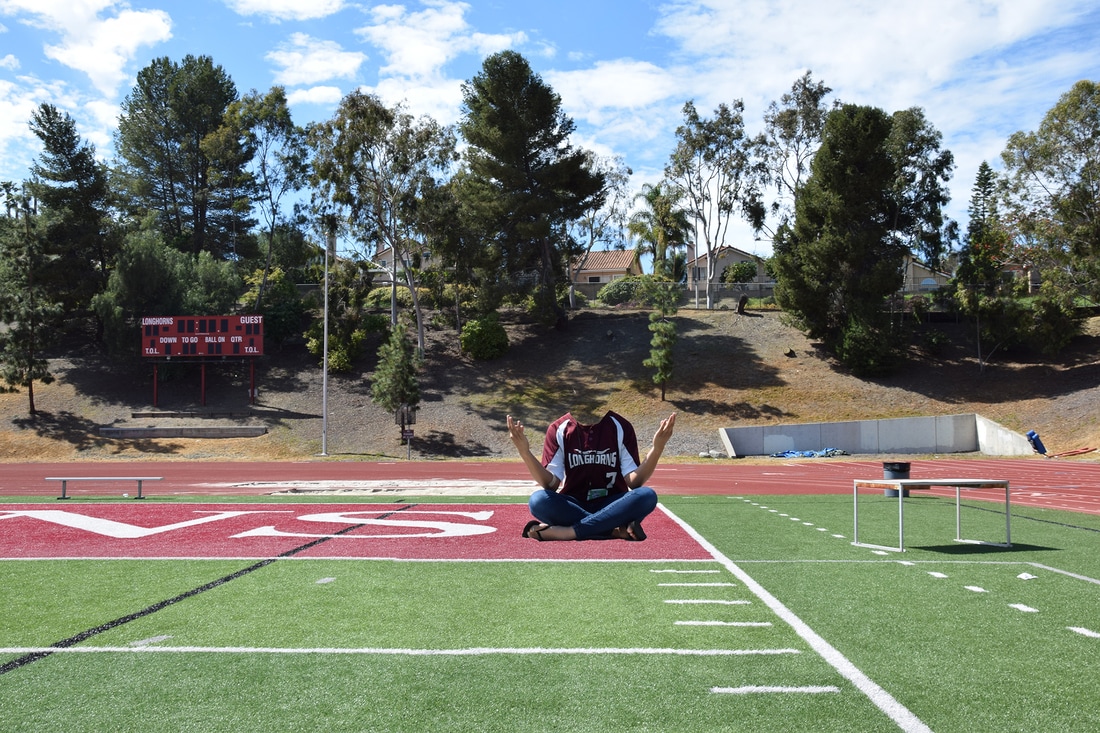
How I made the photo in photoshop is by taking a picture of my friend sitting on a bench and then taking a separate photo of another person's eyes. I found a picture of a cloud online and pulled everything into photoshop. I made 12 copies of the the eye and spread them about the photograph. After that I changed the color balance on most of the eyes to have the color green so they could blend in with the tree. I then used blending options to darken all of the eyes so that they hide in the tree and ground. I then increased the brightness of just Star so that she stood out in the photo. Mandala to me is pretty similar to tessellations with how it's just one image used multiple times in a circle. To make a mandala I first found a photo I wanted to use, then I found a template that I could use with it, I used the magic tool in photoshop and clicked on one section of the layer. After that I moved that section to the image and adjusted it to match where I want to use. I then copied the image and pasted it into the template. Finally I just duplicated the layer enough times to fill in all of the sections. You can then delete the template layer and you have a mandala. I really enjoyed seeing the results of making a mandala. My favorite image was the third one. I struggled with lining up the sections properly. There is nothing else that I would really do differently.
|
AuthorRyan Baldoni: The Asian with the most persuasion. Archives
May 2017
Categories |

 RSS Feed
